Scallion & Spinach Biscuity Muffins

A view of the muffin split in half to see the inside

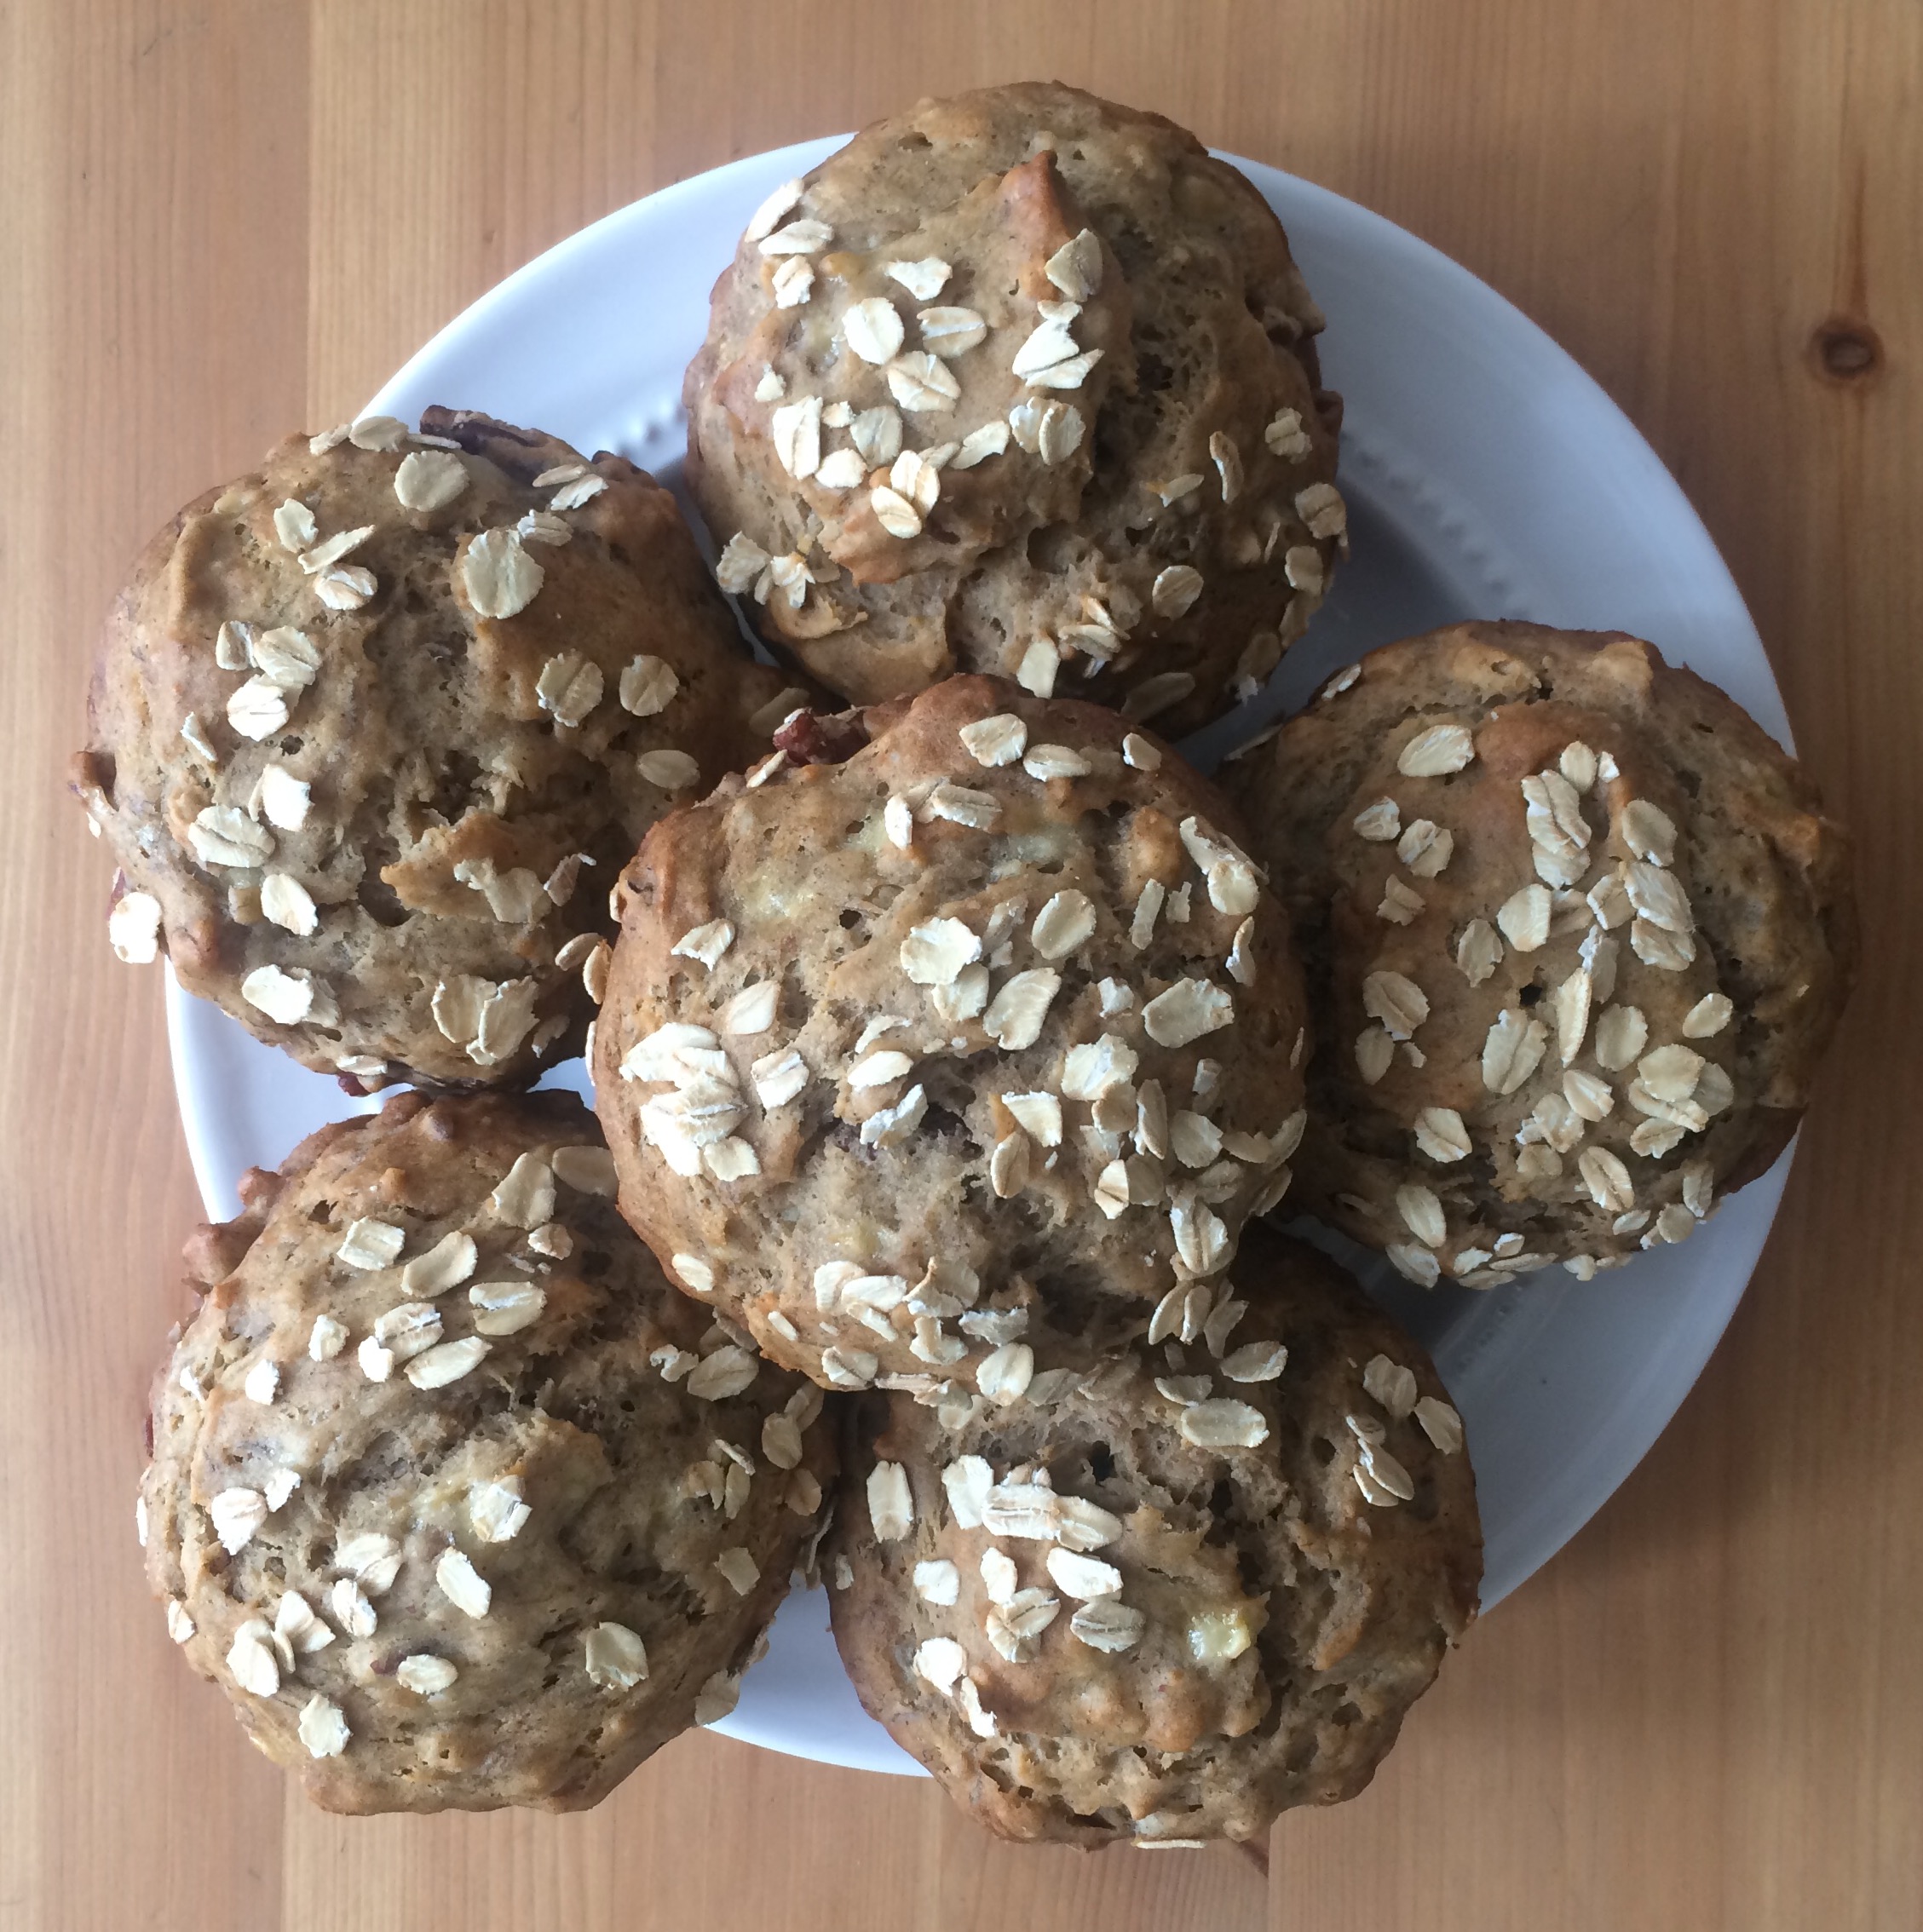
Sometimes I really miss biscuits. And muffins. It’s not the plant-based diet that causes this yearning; it’s mostly that I try not to eat too many refined carbohydrates unless there’s a solid protein alongside of it. So here’s a combination of the objects of my desire. I recommend using 100% all-purpose for the most biscuit-like texture but you could swap in some whole wheat to give it fiber.

Ingredients

2 cups unbleached all-purpose flour (or half AP, half whole wheat)
2 1/2 teaspoons baking powder
1 teaspoon sea salt
1/2 teaspoon ground mustard
1/2 teaspoon garlic powder
1 teaspoon paprika
2-3 tbsp nutritional yeast
1 1/4 cups unsweetened dairy-free milk
1 tsp apple cider vinegar
1 tbsp ground flax
1/4 cup olive or canola oil
1 cup packed finely chopped leafy greens (spinach, kale, etc)
1/4 cup minced scallions
vegan butter or oil to grease the muffin pan

Instructions

  1. Preheat the oven to 425 degrees F and grease a 12-cup muffin tin.
  2. In a large mixing bowl, combine the flour, baking powder, salt, mustard, garlic powder, paprika, and nutritional yeast.
  3. In a small bowl or a 2-cup measuring cup, combine the dairy-free milk and flax. Whisk together until frothy.
  4. Add the oil slowly while whisking the mixture. Let sit while you finely chop the greens and mince the scallions.
  5. Mix the wet ingredients and the greens and scallions to the dry ingredient bowl until well incorporated. The batter will be thick. If it is too thick to mix, add a little of the milk to loosen it. Be careful not to add too much.
  6. Spoon about 2 tbsp of the batter into each muffin cup. Bake for 23-27 minutes until cooked through.
10 scallion and spinach muffins in a muffin tin from an overhead shot

Really Healthy Banana Muffins

In true Shayla fashion, I forgot to update this thing. What’s funny is that I really enjoy writing even though I’m not particularly good at it. I’ve always taken a “whatever” approach to the things that I’m mediocre at. However, there is something I’m very good at doing and that’s what this post is about today.

That thing is baking! When I started this weight-loss journey I stopped baking. I’m sure you can imagine why. It’s hard to stay accountable when you’re sabotaging yourself. But!!! You can have treats on occasion and it doesn’t even have to be a bad treat. I have a terrible sweet tooth and pastries are my downfall. When I was looking for a way to use up some ripening bananas, I found this beaut by GimmeDelicious.

Layla, the curator + composer of GimmeDelicious, posted this delectable healthy banana muffin recipe and I’m all over it. I made a few minor adjustments but she gets full on credit for its awesomeness. This recipe makes 12 small muffins or 6-7 large muffins. You can make it dairy free and I’m pretty sure a flax egg would do the trick if you need to substitute those eggs. Gluten free subs would work great too!

FullSizeRender 2

Healthy Banana Nut Muffins

What you’ll need:

  • large + medium sized mixing bowls
  • baking spatula
  • hand mixer (not necessary but will help)
  • measuring spoons + cups (all of them pretty much)
  • Large dinner spoon

Ingredients:

  • 2 cups flour (WW or GF flour will work too)
  • ¼ cup + 2 tbsp old-fashioned oats, plus 1-2 tbsp for sprinkling (get the GF kind if you need it!)
  • 1 tsp baking soda
  • 1 tsp cinnamon
  • ½ tsp salt
  • 1 cup ripe bananas, mashed (that’s about 2.5 med bananas)
  • 2 eggs
  • ½ cup honey (or maple syrup or agave)
  • ⅓ cup olive oil
  • ¼ cup unsweetened almond milk
  • 1 tsp vanilla extract
  • 1/2-1 cup chocolate chips, raisins, pecans, walnuts, etc (e.g. your choice!)

What to do:

  1. Preheat the oven to 350. Lightly grease a muffin pan with butter, oil, or insert liners.
  2. In the large mixing bowl, combine the flour, oats, baking soda, salt, and cinnamon. Be sure you saved some oats for later. Set aside.
  3. In the medium mixing bowl, mash that banana. Add the eggs, honey, olive oil, almond milk, and vanilla. On a low speed, mix until combined.
  4. Combine the wet with the dry and mix with the spatula until fully incorporated. Stir in your fixin’s.
  5. Pour the batter into the cups until it’s about 3/4 full. Sprinkle with those reserved oats because it’ll make them pretty.
  6. Bake for 20-25 minutes, until browned on top and cooked through. You should use a toothpick to check the doneness. The toothpick should come out clean.
  7. Remove from the oven and cool. Slather it with butter, more honey, peanut butter. Go crazy, you deserve it.

FullSizeRender 4.jpg

Dal for Days


It was cold and rainy in New York City this past week. To warm up my belly without putting too much strain on my wallet, I decided to make dal. Dal is an Indian lentil stew and boy, is it good!

Sometimes I get intimidated by making Indian dishes because of the number of spices used, etc. I want to do it “right” but don’t always have the opportunity to stock my pantry with every seasoning. The recipe I go by is as minimal as it gets.

If you make the spice blend ahead of time and keep some on hand, your prep time will be even shorter. Let me know if you have any variations you’d like to share!

IMG_0356


Easy Dal

What you’ll need:

  • cutting board
  • chef’s knife
  • high sided non-stick pan
  • medium sauté pan
  • garlic press
  • small bowl
  • measuring cup
  • measuring spoons
  • can opener

Dal Spice Blend (make this first)

  • 1/2 tsp cumin seeds (ground)
  • 1/2 tsp mustard seed (ground)
  • 1 tsp turmeric
  • 1/2 tsp cayenne or paprika
  • salt and pepper to taste
  1. Mix together in a small bowl. Taste a tiny bit to gauge heat/flavor. Feel free to add a little more or less depending on how you like it.

Ingredients

  • 3 tsp olive oil (2 tsp + 1 tsp)
  • 1 shallot, minced
  • 1 inch fresh ginger root, peeled + minced
  • 3-4 garlic cloves, crushed or minced
  • 2 tsp dal spice blend
  • 1/2 cup red split lentils
  • 3/4 cup water
  • 1 can lite coconut milk (do not open until ready to pour)
  • 1/2 bunch kale, washed and roughly chopped
  • chili sauce, sriracha, liquid aminos (you’ll see later why they are no measurements)
  • cilantro, roughly chopped (sub parsley if you don’t like cilantro)
  • 1 lime, quartered
  • Rice (start cooking before the lentils) or naan (toast in the last 5 minutes until warmed through)
  1. In a high sided non-stick skillet, heat 2 tsp of olive oil over medium high heat. When hot, sauté the ginger and shallot for 2 minutes, until fragrant. Add the garlic and cook for 1 minute, stirring. Add the dal spice blend, salt to taste, and stir.
  2. Shake the can of coconut milk and open. Add the coconut milk, 3/4 cup water and red lentils to the pan. Bring to a simmer then lower the temperature to medium, stirring occasionally. Cook for 20-22 minutes or until the lentils are tender. Squeeze the juice from 2 lime quarters into the lentils and stir.
  3. After the lentils have cooked for about 10 minutes, heat 1 tsp olive oil in a medium sized pan over medium high heat. Add the kale – be careful for any spattering from the water hitting the oil. Sauté the kale until wilted. Season it with some chili sauce and liquid aminos if you’d like. Season with salt and pepper to taste. Remove from heat and set aside.
  4. Evenly distribute the lentils into two bowls. Top with the cooked kale, carb and cilantro. Enjoy!

Tip: Great for lunch the next day. You can double recipe easily- just test the spice blend before adding. You can top the dal with any sautéed or roasted vegetable and protein!

Can’t get any easier: Chia Pudding

Weight Update: I’m at 169lbs (down from 181lbs)! Finally below 170! Only 4 more pounds until I reach my first goal. This is the slowest, most agonizing process but I have to keep going. Follow me on Instagram for more frequent updates.

Happy Sunday everyone! It’s been a couple of weeks since my last post so I’m going to give you two recipes to get you through your week. It’s the same base, two different ways, and an endless number of possibilities.

I drink a meal replacement shake every morning and it doesn’t change much. 1 scoop protein powder (I use IdealShape!) almond milk, almond butter, chia, and banana (239 calories). Yum!!! But it gets kind of boring after 10 or 15 of these. So when I need to switch things up but still want to keep it low cal + healthy, I make chia pudding.

IMG_0302

View from the top of the breakfast hunger

If I forget to make it the night before, I toss all of the ingredients into my Nutribullet and voila! Easy breakfast.

IMG_0301

Blended Chia Pudding – great breakfast for the office!

Blended Chia Pudding

What you’ll need

  • high speed blender
  • spatula
  • tablespoon
  • 1/2 c. measuring cup
  • small container with a lid

Ingredients

  • 2 tbsp chia seeds
  • 1/2 cup milk of choice (almond milk, coconut milk, soy milk, cashew milk, etc)
  • 1 tablespoon maple syrup
  • cinnamon
  • toppings! fruit, nut butter, nuts, cacao, dried fruit, coconut, granola, whatever you like

Instructions

  1. Combine the chia seeds, milk and maple syrup in the blender. Sprinkle cinnamon to taste.
  2. Blend on high for about 1-2 minutes, until thick and smooth. It will be slightly gelatinous to touch. Pour into the container and top with your favorite things. Enjoy!

Est. 203 calories without toppings

Overnight Chia Pudding

What you’ll need

  • small container with a lid
  • tablespoon
  • 1/2 c. measuring cup

Ingredients

  • 2 tbsp chia seeds
  • 3/4 cup milk of choice (almond milk, coconut milk, soy milk, cashew milk, etc)
  • 1 tablespoon maple syrup
  • cinnamon
  • toppings! fruit, nut butter, nuts, cacao, dried fruit, coconut, granola, whatever you like

Instructions

  1. Combine the chia seeds, milk, maple syrup, cinnamon to taste. Give it a good stir.
  2. Let sit in the fridge for a least 4 hours. It should thicken up immensely and have a gelatinous, tapioca like consistency. If it’s too thick when you’re ready to eat it, add a little extra milk to loosen it up. Top it with your favorite things. Enjoy!

Est. 215 calories without toppings

Tip: Feel free to add 1/8 tsp of almond or vanilla extra or 1/4 tsp orange zest to brighten the flavor. You can also do milk blends. I personally like using almond milk and canned, cooking coconut milk. It makes it so creamy!


Sunday Snacks: Roasted Chickpeas

Happy Sunday! I was thinking of featuring a favorite snack on Sundays. Thoughts?

Today we’re chomping on roasted chickpeas. In the spirit of this wonderfully quick snack, I’ll keep today’s post short & sweet, but mostly savory.

roastedchickpeas2

Roasted Chickpeas

What You’ll Need:

  • 1 large baking sheet lined with foil or parchment
  • colander
  • spatula
  • Paper towels or a very clean dish towel

Ingredients:

  • 1 29oz can of chickpeas, drained OR 2 15oz cans, drained
  • olive oil
  • salt
  • pepper
  • any other herb/spice your heart desires

Instructions:

  1. Preheat the oven to 400. f you haven’t already, drain the chickpeas in the colander.
  2. Carefully and slowly pour the chickpeas onto a dish towel or layer of paper towels on the counter. Dry the chickpeas until they have an almost matte like texture. Air drying works great too.
  3. Transfer to the foil/parchment lined baking sheet. Drizzle with about 1-2 tbsp olive oil and stir to evenly coat with oil. Season with salt and pepper to taste.
  4. Bake for a total of 30 minutes, checking and stirring every 10 minutes, until chickpeas are lightly browned. Caution when stirring the chickpeas while they’re baking- some might pop at you!
  5. Remove from oven and transfer to a bowl. Toss with your favorite spices. I have a homemade za’atar blend that I like to put on chickpeas, yogurt, and popcorn. Enjoy!

Tip: These are seriously the best when they are warm. Also, while these are delightful and vegan, chickpeas are high in protein and in calories so be sure to eat the amount that works for your diet.

Oh my goodness, Granola!

It’s finally happened. It’s taken years to be convinced that I could do it and all it took was a wonderful suggestion from my best friend.

Let’s back up for a minute. I like granola. I usually like my granola with yogurt. I don’t like whole nuts or dried fruit in my yogurt. That limits a vast selection of granola out there on the shelves. On top of that, I’m particular about sweetness and spice levels. I prefer lots of cinnamon with a touch of sweet.

I think what I’m getting at is that granola preferences are individualistic and completely based on context.

So when my best friend shared her recipe with me (and some of her granola), I knew it was time I gave it a try. By the way, her spreadsheet has a log of various trials and notes for the next baking session. It’s methodical and beautiful. Today I’m sharing the base version of hers that yielded the best result thus far. I’ve made my own tweaks because I

granola

Goodness Granola

What you’ll need:

  • baking sheets lined with parchment paper (use glass baking dishes if you don’t have parchment, lightly greased)
  • 1 large mixing bowl, 1 medium mixing bowl
  • measuring cups + spoons
  • spatula

Ingredients

  • 3.5 cups extra thick cut oats
  • 1 cup almonds, chopped/smashed
  • 1/4-1/3 cup unsweetened coconut flakes, torn into smaller pieces
  • 2-2.5 tsp cinnamon
  • 3/4 tsp salt
  • 1/4 cup honey
  • 1/4 cup maple syrup (plus a little extra on hand)
  • 1/4 cup canola/vegetable oil (plus a little extra on hand)
  • 1/4 tsp almond extract or vanilla extract

Instructions

  1. Preheat oven to 350 F.
  2. In the large mixing bowl, combine the oats, almonds, coconut flakes, cinnamon and salt. Set aside.
  3. In the medium mixing bowl, Combine the oil, maple syrup, honey and extract. Carefully whisk until mostly blended.
  4. Poor the wet over the dry, mix until completely coated. If some areas seem dry still, drizzle 1 tbsp maple syrup and a touch of oil. Mix.
  5. Spread the granola in an even later on the pans. Bake in oven for 9-10 minutes. Stir and bake for another 9-10 minutes until lightly browned. Keep an eye on the granola towards the end of the second half of baking.
  6. Once the granola is done, remove from oven and completely cool. Store in airtight container.

Notes: You can use molasses or agave for vegan variations. Add 1/2 cup pepitas, cashews, etc.

Copycat Almond Butter Bliss

Let’s pretend it’s summer. Well, if you were in the Northeast the past few days, it’s probably not all that difficult to imagine. We’ve had unseasonably warm weather and my feelings on it have been perfectly captured by Sarah Andersen.

Back to what I was saying before. It’s warm out. You’re sick of salads. What do you eat?

An açaí bowl!

Açaí (ah-sigh-ee) is a berry that’s kinda like a cross between a blueberry and a grape. It’s high in antioxidants, low in sugar, and high in iron, calcium, fiber, and vitamin A. It’s got a sweet, berry yet chocolate taste to it. You’ll often see them in smoothies and often referenced as a superfood. TLDR; they’re good for you.

They’re also incredibly finicky as a commodity. As soon as they are picked, they start to lose their flavor and their potency. They grow in tropical climates (think Brazil). So when we in the USA finally get our hands on these babies, they’ve been processed into a puree or turned into a freeze-dried powder. It’s the only way to preserve its tastiness and health benefits.

So why am I talking about açaí and what are they doing in bowls?

Juice Generation, a coveted health spot for the wellness minded, makes a fantastic açaí bowl. The problem is that the bowls cost $12 in NYC and I personally can’t justify buying that a couple of times each week. So, like every other thing I love but is too expensive, I found a way to make it at home. Mine is a bit less creamy as I attempted to keep it as low calorie as possible.

If you haven’t had a bowl from Juice Generation and you have access to one, you should *absolutely* give it a try. You won’t be sorry, even if it looks a bit like mud.

Copycat Almond Butter Bliss

What you’ll need

  • High speed blender
  • knife
  • cutting board
  • spatula
  • measuring spoons/cups

Ingredients

  • 2 packets açaí puree, frozen (run under water for a few minutes to loosen it up a bit)
  • 3 tbsp almond butter
  • 1 banana, sliced
  • 3/4-1 cup almond milk, unsweetened
  • 3-4 ice cubes
  • 1/2 cup Nature’s Path Hemp+ Granola
  • 2-3 strawberries, sliced
  • 1 tbsp unsweetened coconut flakes

Steps

  1. Place the contents of both açaí into the blender. Add 1/2 of the banana, 2 tbsp almond butter, ice cubes and 3/4 cup almond milk. Blend until smooth. It should be thicker than a smoothie. Add the remaining almond milk to make it blend better if needed. Keep adding more milk if it needs it.
  2. Once the mixture is thick but smooth, pour into a bowl. Evenly top with the granola. Spoon the remaining almond butter in the center of the bowl and top with banana and strawberry slices. Sprinkle with coconut flakes.
  3. Enjoy!

Tip: If you want to eat this for lunch, make your base in advanced and place in the freezer. Let it thaw for about an hour before lunch. You can prep the strawberries + bananas before hand as well. You can also halve the recipe for a smaller portion. Add some protein powder to make it a touch more filling.

Approx: 610-670 calories

Mise en falafel

I enjoy food blogging because I can share snapshots about my life and how I make my food choices. For example, I love Korean dramas. I think they’re hands-down the most predictable and engaging programs. The characters are pretty much the same across shows; the plot usually revolves around a couple who should not have crossed paths but they have and life takes them on a crazy journey. The programs embody (sometimes offensive) gender stereotypes but in this oddly sincere way. I can’t get enough of them.

These shows also make me want Korean food and vats of soju. To temper these cravings, I try to find recipes to experiment with. A place in Brooklyn makes great tofu edamame falafel but I’m outside of their delivery range. So I went with the best option: make it yourself.

The important thing to remember when making any kind of fried, cohesive food is to make sure the mix sticks together but not to your hands. Also, when you’re placing items in the mixing bowl, you can really let your organizational side come out and group the items nicely before mixing all together. It’s very satisfying.

Currently watching: Secret Garden.

IMG_1402

Edamame falafel over rice with marinated cucumbers, pickled ginger carrots, sautéed broccoli + green beans, homemade gochujang sauce

Edamame Falafel (makes approx. 12-14)

What you need:

  • 1 medium bowl, food processor (regular blade), frying pan, slotted spatula
  • 1 cup edamame, shelled and thawed
  • 1 cup canned chickpeas, drained
  • 1 cup cilantro
  • 1 tbsp.  sesame oil (or olive oil)
  • 1-2 tbsp. lime juice
  • 1/2 tbsp. cumin
  • 1/2 tbsp. coriander
  • 1/2 tsp. salt
  • dash of paprika or cayenne pepper
  • 1/4 cup carrots, 1/4″ slices
  • 1 1/2 tbsp. toasted sesame seeds
  • 1/2 cup panko
  • 1 egg
  • vegetable oil for frying

How to make it:

  1. Put the edamame, chickpeas, sesame oil, lime juice, cumin, coriander, salt and paprika in the food processor and pulse until nearly smooth. It should still have a slightly coarse texture. Transfer to the mixing bowl.
  2. Add the cilantro to the food processor until finely chopped. Transfer to the mixing bowl. Do the same with the carrots and place in bowl.
  3. Add the panko, sesame seeds and egg to the bowl and mix until fully incorporated. It should stick together but not stick too much to your hands. Prepare a plate with paper towels to place the cooked falafel on later.
  4. Over medium to medium low heat, heat the vegetable oil for frying. When full heated, make a falafel ball the size of a ping-pong ball and flatten slightly. Place in pan and cook until brown on both sides. If it held up okay and tastes good, proceed with making more falafel and frying. If not, add a little salt or spices or more panko if it’s too runny.
  5. Enjoy the falafel in a sandwich, wrap, over rice, or as an appetizer!

Polenty of Pizza

Pizza. It’s all I think about sometimes. How can I get it? What should I put on it? Where should I get it from? What kind of crust do I want? These are all questions than run through my mind, especially when hunger has set in and it’s only a matter of time before I implode.

I’m sure you’ve had a similar experience.

When I remember to think ahead or I have some extra time on my hands, I like to make these polenta pizza crusts. They’re simple in terms of ingredients and instructions. The process is a bit time consuming but it’s absolutely worth it. The crust is gluten-free but that doesn’t mean that it’s not filling or tastes weird. It has a satisfying texture of crispy and smooth- it’s kind of magical actually.

IMG_1371

Polenta Pizza Crusts (2 9″-crusts)

What you’ll need:

  • A medium pot, whisk, 2 9-11″ tart dishes, baking spatula, baking sheet
  • 3 cups vegetable stock
  • 2 tbsp olive oil
  • 1/2 tsp dried basil
  • 1/2 tsp dried oregano
  • 1/2 tsp salt
  • 1 cup of fine ground cornmeal + 2 tbsp
  • 1/4 cup coarse cornmeal (polenta)

Toppings (completely up to you but this is what’s pictured above)

  • 3 tbsp sundried tomato pesto
  • 2-4 oz cheddar cheese, shredded or cut into thin pieces (cheddar featured above)
  • 1 handful broccoli, cut into tiny florets

How to make it:

  1. In a medium pot over medium heat, combine the vegetable stock, olive oil, basil, oregano and salt. Bring to a boil.
  2. Lower the heat to medium low and slowly stir in both cornmeals with a whisk. Keep stirring for about 3-4 minutes with as few lumps as possible.
  3. Remove from heat and evenly divide the polenta to the tart dishes. Use a baking spatula to spread the polenta into an even thin layer. Let them cool in the fridge for about 30 minutes.
  4. Preheat the oven to 350. Sprinkle the cornmeal on the baking sheet. Remove the polenta crusts from the fridge and transfer to the baking sheet. Bake for 30-40 minutes, until the edges are crispy and the crust has browned a bit on the bottom.
  5. Remove from the oven and top with your favorite toppings. Bake for another 15 minutes. Enjoy!

*Made vegan by not topping it with cheese.

**Thanks to Steve for help with the title.

Black Bean & Quinoa Soup

When my colleague told me she made black bean soup for her household, I was jealous. But mostly, I was inspired. It was exactly what I needed to prepare for the cold weather. I haven’t been craving soups and this was the first time in months that I couldn’t stop thinking about it. You can imagine, as the queen of soups, how happy this made me!

What makes this soup special is that it’s simple. It has all the parts of soup that you could ask for: filling, flavorful and a great ratio. This recipe is based off of Post Punk Kitchen but with some minor changes. I added nutritional yeast for some cheesiness, subbed in paprika for a smoother heat and got rid of the garlic. I can’t seem to keep garlic around the kitchen long enough but you’re welcome to add that in at home.

Image

Black Bean & Quinoa Soup

  • 1 tbsp olive oil
  • 1/2 medium red onion, medium diced
  • 1 tsp cumin
  • 1/2 tsp dried oregano
  • 1/2 tsp paprika
  • 1/2 cup quinoa
  • 1 large carrot, medium dice
  • 1 bay leaf
  • 4 cups vegetable broth
  • 1 24 oz can black beans
  • 1 avocado, sliced
  • 1 tbsp nutritional yeast
  • 1 lime wedge
  1. In a medium pot large enough to fit all of the ingredients, heat the olive oil over medium high heat. Add the onion and sauté for 2-3 minutes, until translucent. Add the carrots, cumin, oregano, paprika and stir.
  2. Pour the vegetable broth and quinoa into the pot. Cover and cook for 10 minutes. Add the black beans and bay leaf. Cook for an additional 10 minutes, until the quinoa is tender.
  3. Remove from heat and remove the bay leaf. Stir in the nutritional yeast. Garnish with the avocado and lime.

Serves 4.